What photography methodology tips change the way I shoot
If you want repeatable results, photography methodology tips matter more than another lens purchase. The real shift happens when you stop relying on luck and start building a process that travels with you from one shoot to the next.
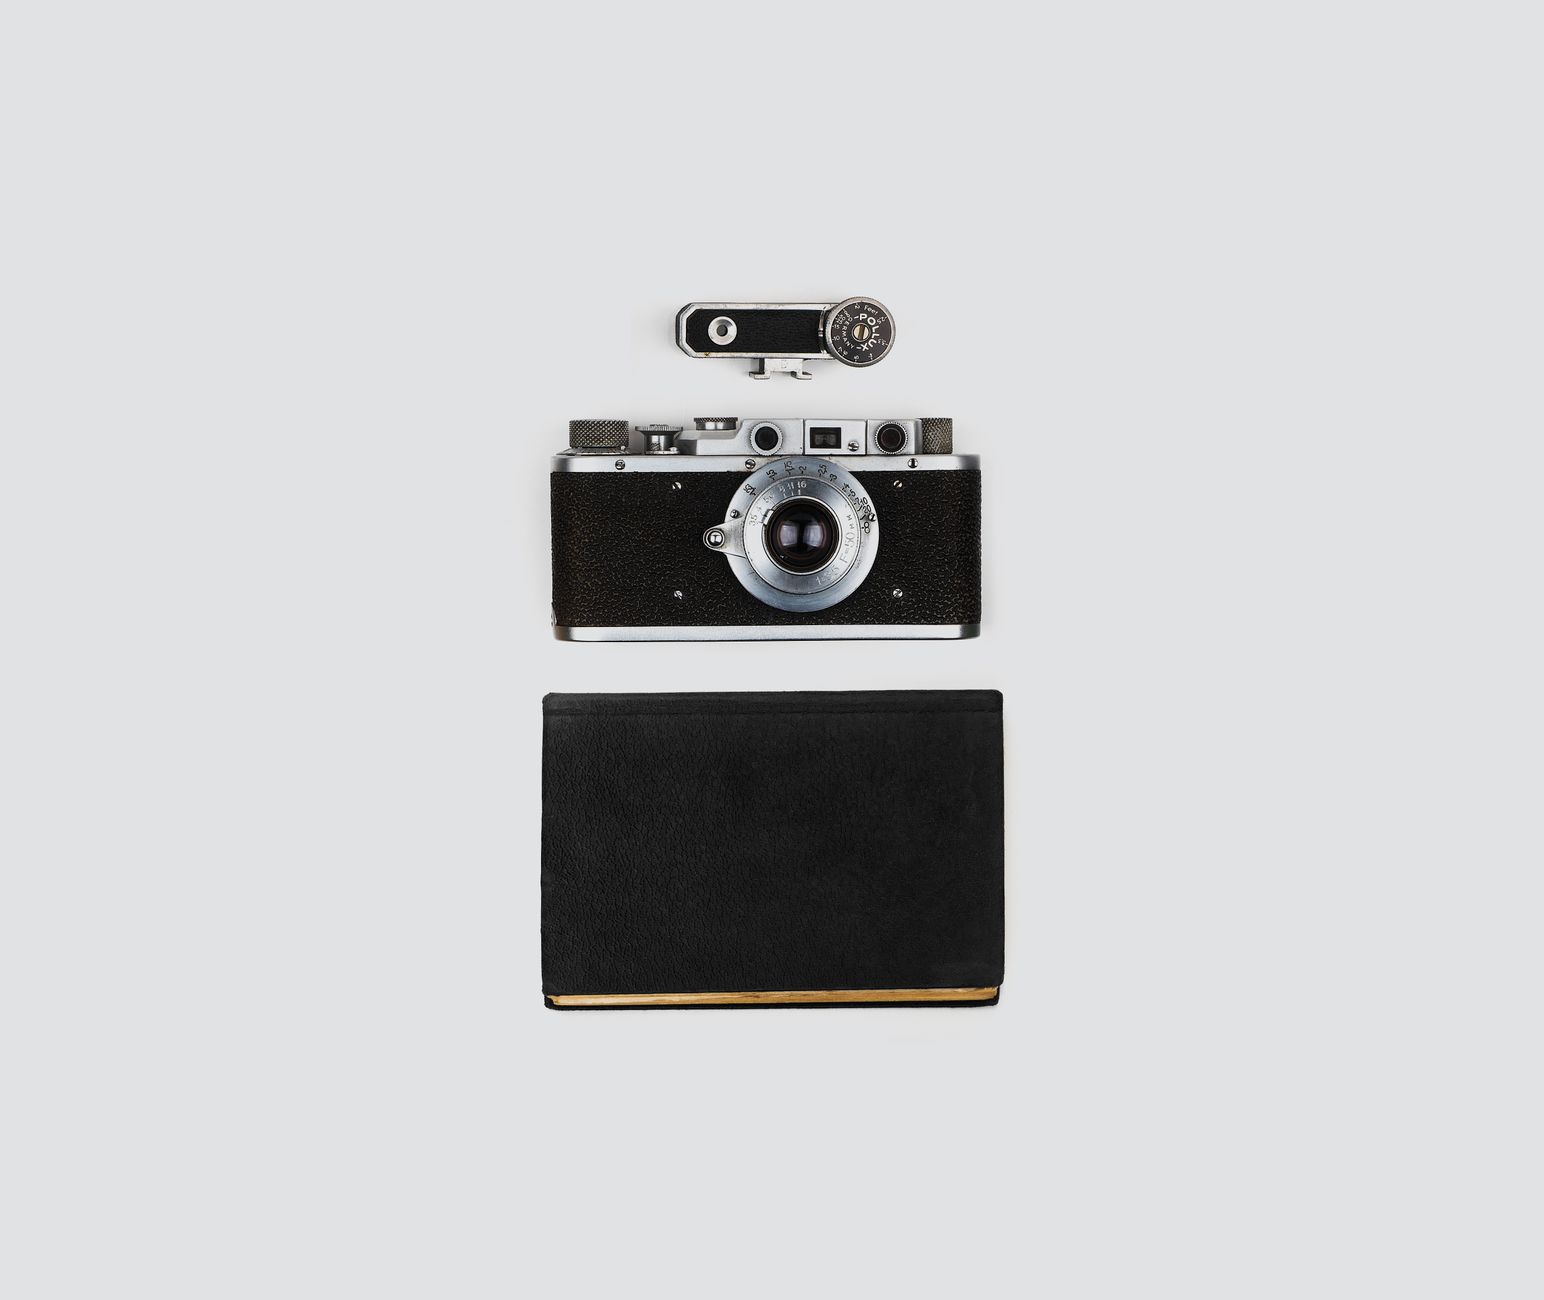
I used to think better photos came from better gear. Then I spent a few months separating my habits from my equipment, and the difference became obvious. My files got cleaner, my choices got faster, and I stopped feeling like every session was a new puzzle. That is the promise of method. Not perfection. Not a magic style. Just a repeatable way to make decisions when the light changes, the client changes, or your own energy changes.
That is also why I like keeping a written archive of my process notes. I can compare what worked, what failed, and what I want to repeat. If you want a broader archive of this kind of thinking, the Photography Methodology Tips category is where I would start. A good methodology does not make the work less creative. It makes creativity easier to trust.
photography methodology tips: Start with the problem you are actually trying to solve
Every shoot begins with a hidden question. Am I trying to tell a story, sell a product, capture a place, or test a new visual idea? If I do not answer that question early, I tend to overpack the session with random decisions. I bring too many lenses. I chase too many angles. I end up with a folder full of almost right images.
The first discipline is to name the purpose in plain language. I write one sentence before I touch the camera. Sometimes it is as simple as, “I need portraits that feel calm and direct.” Other times it becomes, “I need a sequence that shows how this space changes as the sun drops.” That sentence gives the shoot a job. Once the job is clear, the rest of the choices become easier to judge.
It also helps to decide what the image should do for the viewer. Should it explain, persuade, invite, or document? Those are different goals, and each one changes the way I frame, expose, and edit. A documentary frame can tolerate more rough edges. A product frame usually cannot. A portrait can live on eye contact. A travel image may depend more on distance and atmosphere. When I know the outcome, I stop wasting time on options that do not serve it.
One practical trick is to give the project a label before the first frame. I might call it “quiet portrait set” or “late afternoon texture study.” The label is not for branding. It is for memory. Later, when I review the files, I can ask whether the images actually matched the label I gave them. That is one of the simplest ways I know to keep a method honest.
If you only adopt one habit from this section, make it this one. Write the purpose down. A sentence on paper is cheaper than twenty minutes of uncertainty on location.
Photography methodology tips for planning before the shutter clicks
Planning does not need to feel rigid. In fact, the best planning usually feels light. I am not trying to script every frame. I am trying to remove the kind of friction that kills momentum once I arrive. The more I prepare before the shoot, the more brain space I have for the unexpected parts of the session.
I usually begin with three things. First, I check the light. Not just the weather app, but the actual direction and quality of light at the time I expect to shoot. Second, I think through access. Can I get where I need to stand, kneel, or move without fighting the space? Third, I decide on a narrow gear set. That usually means one primary lens, one backup lens, batteries, cards, and one support tool if I need it. If the job does not require more, I leave the rest behind.
A good plan also includes a fallback. If the light turns harsh, where do I go? If the main scene is blocked, what is my second choice? If the subject arrives late, what can I photograph while waiting? I do not want to improvise my way into panic, so I pre-decide the likely backup moves. That is what turns a messy day into a manageable one.
For location work, I like to sketch a tiny map in a notebook or on my phone. Nothing fancy. Just a rough note about where the strongest light falls, where the background gets busy, and where I can stand without causing a distraction. That tiny map saves more time than any piece of gear.
There is another benefit to planning. It makes my creative limits visible. When I know I have thirty minutes, one subject, and one window of light, I stop daydreaming about the ideal version of the shoot and start working with the real one. That usually produces better photographs anyway.
Planning is not a cage. It is a way of reserving attention for the moments that can only happen once.
Build a shot list that survives real life
A shot list is useful only if it survives contact with the day itself. I do not mean a huge checklist with fifty items and no hierarchy. I mean a small, clear map of the shots that matter most. My best shot lists usually have a top tier, a middle tier, and a few optional frames that I take if time allows.
Top tier shots are the ones I would regret missing. For a portrait session, that may be the main framing, a tighter crop, and one quiet variation that feels more candid. For an editorial scene, it may be a wide establishing frame, a mid shot, and a detail that helps the story feel complete. The middle tier is where I explore alternatives. Optional frames are there in case the session opens up.
I keep the list short because short lists are easier to remember. I want to be able to glance at it and know where I stand. If the list is too long, I start checking boxes instead of noticing the scene. A photography method should support attention, not replace it.
One approach that works well is to organize the list by visual function. I might separate it into context, subject, detail, and mood. That reminds me not to shoot only the obvious frame. The context image explains where we are. The subject frame tells the main story. The detail image adds texture. The mood image gives the set a feeling beyond description.
Another useful habit is to place the list in the order I actually expect to shoot. That sounds simple, but it matters. When I am on location, I do not want to hunt through a neat theory document. I want the next obvious move. If the list reflects the real order of the session, I can work faster and with less mental drag.
After the shoot, I mark the items that mattered and cross out the ones I should drop next time. Over time, the list becomes a record of how I think, not just what I planned. That is when it starts to teach me something.

Treat camera settings as defaults, not decisions
I used to spend too much time on camera settings because they felt like control. The problem is that settings can become a distraction if I treat every frame like a fresh technical debate. A better approach is to build a few defaults and only change them when the scene asks for it.
For me, that means choosing a baseline exposure strategy for each kind of work. Portraits in moving light want one kind of starting point. Product work on a table wants another. Street scenes at dusk want something else entirely. Once I know the default, I am no longer making the same decision from scratch every ten minutes.
White balance is another place where defaults help. I am less interested in chasing perfect color on the back screen than in keeping the set consistent enough to make editing easier later. If I know I am working under mixed light, I will decide early whether I want to lean into that mix or simplify it. That choice shapes the whole file set.
Autofocus behavior, drive mode, and file format also belong in the default category. I do not want to be choosing those during the most active part of the shoot unless the subject forces a change. My goal is to automate the repetitive choices so I can reserve attention for composition and timing.
That said, defaults are not excuses to be lazy. They are only useful if I review them from time to time. I ask myself whether my default exposure habit still fits the kind of images I want to make. I ask whether I am using the camera or letting the camera use me. A method should evolve, but it should not wobble every day.
When I teach newer photographers, I usually suggest they build one default at a time. Start with exposure. Then focus. Then file format. Then color. Trying to master all four at once tends to create noise. Adding one reliable setting pattern at a time creates confidence. Confidence makes the rest of the session quieter.
The point is not to make camera use invisible. The point is to make the technical layer steady enough that it stops demanding applause.
Scout light and location like someone who plans to return
Location scouting is not just about finding a pretty background. It is about understanding how a place behaves. Where does the light arrive? Where does it get blocked? Which corners feel open, and which corners make the frame feel crowded? Those details change the way a shoot unfolds far more than most people expect.
When I scout, I try to notice the location at different moments, not just once. A space that feels flat at noon may become useful an hour before sunset. A street that looks chaotic from one angle may simplify if I move ten steps to the left. Even indoors, a room can change character depending on where the window light falls.
I also watch for visual clutter that is easy to miss in the moment. Bright signs, reflective glass, distracting poles, and awkward background shapes can ruin an otherwise strong frame. The scout is where I spot them, not after I get home and wish I had been more careful.
The other thing I look for is movement. Where do people walk? Where does a subject naturally pause? Where can I place myself without blocking the scene? Thinking in terms of movement turns a location into a working environment instead of a static backdrop. That matters for portraits, events, and documentary work alike.
If I know I will return to a place, I make a more detailed note. I record the time of day, the weather, and any angle that felt especially useful. I have even photographed a few quick reference frames with my phone so I can remember the exact corner that worked. Those notes save me from rediscovering the same place every time as if it were brand new.
A location is rarely one thing. It is usually several possible pictures waiting to be separated by timing and attention. Scouting gives me a head start on that separation.
The best scout mindset is curiosity without hurry. I am not there to consume the place. I am there to learn how it behaves.
Use composition as a sequence, not a single pose
Composition gets talked about as if it were a fixed rulebook. In practice, I find it more useful to treat composition as a sequence of decisions. The first frame establishes the scene. The next frame refines the point of focus. The frame after that either adds tension or removes it. Good composition is rarely one brilliant choice. It is usually a chain of smaller ones that work together.
When I am working through a subject, I try to move from wide to narrow. The wide frame gives context. The medium frame shows relationship. The tight frame isolates detail or emotion. That progression helps me think clearly because I am not asking one image to do every job at once.
Spacing matters as much as subject placement. A portrait with too much empty space can feel lost. The same portrait with too little space can feel cramped. I keep asking what the frame needs to breathe. Sometimes the answer is more negative space. Sometimes it is a stronger anchor near the edge. The scene itself usually tells me which way to go if I slow down long enough to listen.
I also pay attention to the background as if it were another subject. If the background fights the main subject, the frame loses authority. If the background quietly supports the subject, the image feels composed rather than assembled. That usually means I am moving my feet more than I am changing settings. Small shifts in position often solve more problems than aggressive editing later.
One of my favorite habits is to look for a compositional difference between frames rather than a better version of the same frame. Better is not always different. Sometimes I need a wider relationship shot. Sometimes I need a frame that uses reflection or foreground obstruction. Sometimes I need a gesture that changes the emotional weight of the image entirely.
That is where methodology helps. If I treat each image as a new sentence in the same paragraph, I stop making disconnected pictures. I start building a visual argument.
Review while the session is still fresh
The best time to review a shoot is while I still remember what I was trying to do. If I wait too long, I only remember the final frames and not the thinking behind them. Fresh review helps me see why I made certain choices and whether those choices actually served the goal I set at the start.
I usually do a fast pass first. I am not grading every image. I am looking for patterns. Which frames held the feeling I wanted? Which ones solved the technical problem but missed the emotional one? Which angles look stronger than I expected once they are on a larger screen? That first pass is about recognition, not perfection.
Then I do a second pass with a sharper question. What repeated mistake did I make? Maybe I kept letting the background go bright. Maybe I relied too much on one focal length. Maybe I trusted a pose that worked once but not three times. The point is not to criticize myself for every miss. The point is to spot the pattern that kept returning.
I like to leave short notes on the keepers. Not fancy notes. Just enough to explain why an image survived the cut. “Strong eye contact.” “Better space on the left.” “Light got cleaner after 4 p.m.” Those notes become useful the next time I shoot in a similar setup.
Sometimes I also compare a favorite file with two near misses. That comparison teaches me more than a folder full of keepers because it shows the narrow difference between good and almost good. Often the gap is not dramatic. It is a slight shift in timing, a quieter background, or a less busy gesture. Those small differences matter a lot.
Review is where the methodology proves itself. If the process was useful, I should be able to explain why the best images work. If I cannot explain it, I probably got lucky. Luck is nice. Learning from it is better.

Build an editing workflow that protects consistency
Editing is where a lot of photographers lose the discipline they had on location. The shoot feels focused, then the edit turns into a pile of guesses. I try to stop that by giving the editing stage its own workflow. It does not need to be complicated. It just needs to be consistent enough that I can move through it without reinventing the rules.
My first decision is always selection order. I sort the files by purpose, not by mood alone. I look for the images that fulfill the brief, then the images that support the sequence, then the images that offer a useful variation. That keeps me from falling in love with a file that is beautiful but irrelevant.
Color and contrast come next. I prefer to make broad decisions early and detailed decisions late. If I do the tiny tweaks first, I can spend an hour polishing a file that still needs a stronger base. A good editing workflow gives me a stable skeleton before I worry about the finer skin on top of it.
I also try to edit with the end use in mind. A file meant for a screen gallery may need a different rhythm than one meant for print or social use. Cropping, sharpening, and tonal balance all shift depending on where the image will live. Method matters here because the same picture can fail in one context and work in another.
Consistency is not the same thing as sameness. I am not trying to make every frame identical. I am trying to make the choices feel like they came from the same photographer on the same day. That is especially important in a series. Viewers notice when the color jumps around or the contrast changes without reason. A stable method keeps the series coherent.
One more thing. I keep a small preset or starting profile, but I do not let it decide the picture for me. It is a shortcut, not a verdict. If the preset is doing too much of the thinking, I remove it. Editing should clarify the image, not flatten the decisions that made the image possible.
Keep gear, files, and backups from becoming a hidden problem
Technical disasters rarely begin on the day they happen. They begin earlier, in neglected batteries, unread cards, untidy folders, or a workflow I meant to fix later. That is why maintenance belongs in any serious photography method. It is not glamorous, but it protects the time and attention you already spent making the pictures.
I keep a simple gear routine. Batteries charged. Cards formatted after backup. Lens surfaces clean enough to trust. Straps, mounts, and tripods checked before a job that depends on them. None of this is exciting, but all of it reduces the chance that a small oversight will interrupt the session.
File management gets the same treatment. I use a naming structure that tells me when and where the shoot happened. I back up the files in more than one place before I start serious editing. I do not assume that one hard drive is enough because I have already had enough bad luck to respect redundancy.
It also helps to create a habit for sorting rejects, selects, and finals. When every stage has a home, I waste less time looking for the current version of a project. I know where the contact sheet is. I know where the raw archive sits. I know where the edited export lives. That sounds basic, but the mental relief is real.
Maintenance extends to the camera body as well. I pay attention to buttons, dials, card slots, and anything that starts feeling unreliable. A sticky control or a loose door is not something I want to discover halfway through a paid session. Catching small issues early is cheaper than dealing with them under pressure.
I think of this as the invisible side of photography methodology. Nobody compliments the backup folder. Nobody shares a screenshot of correctly labeled archives. But those habits make the visible work easier to trust. They also make me calmer when something unexpected happens, because I know the rest of the system is holding.
Turn each project into a lesson file
The most useful thing I do after a shoot is not export the final files. It is create a lesson file. That can be a page in a notebook, a note on my phone, or a simple document with three headings. What worked. What did not. What I would change next time. Those three questions are enough to convert a session into experience I can actually reuse.
I try to be specific. “Lighting was good” is not enough. I want to know what kind of light, at what time, and why it helped. “Subject felt awkward” is not enough either. I want to know whether the issue was timing, direction, environment, or my own lack of clarity. Specific notes are what allow a method to mature.
I also like to keep one image from each project that represents the lesson best. Not the most dramatic image. The most informative one. Sometimes it is the frame where the light finally clicked. Sometimes it is the frame where I solved a composition problem I had been carrying all afternoon. That one image becomes a marker for the next session.
Over time, the lesson file becomes more valuable than the gear list. Gear lists tell me what I owned. Lesson files tell me how I worked. If I want to grow as a photographer, the second matters more than the first.
This is also where personal style begins to appear in a grounded way. Style is not just a look. It is the sum of repeated choices. The way I handle space. The way I react to messy backgrounds. The way I edit color when the scene is quiet. The way I pace a sequence. Method reveals style because it shows what I keep choosing when nobody is telling me what to do.
So I return to the notes. I look for patterns. I keep the habits that help. I retire the ones that only feel clever. That is how a working method stays alive instead of turning into a museum of old tricks.
A method you can repeat tomorrow
If I had to compress the whole approach into a single habit, it would be this. Make fewer spontaneous decisions during the shoot and more intentional decisions before and after it. That one shift changes everything. It reduces waste. It makes your best images easier to recognize. It gives you a way to improve without guessing.
The point of photography methodology tips is not to turn photography into a machine. It is to keep the machine parts from interrupting the part that still needs intuition. The more reliable the process, the freer the eye becomes. I have felt that difference on slow personal projects and on fast, high-pressure sessions. In both cases, a method gives me something steady to stand on.
Try this tomorrow. Write the purpose in one sentence. Build a small shot list. Choose your defaults before you arrive. Scout the light if you can. Review while the memory is fresh. Back up the files before you forget. Then add one note about what you learned. That is enough to start a better cycle.
I do not think methodology makes the work less human. I think it makes the human part visible. It shows where I hesitate, where I commit, and where I keep learning. That is the part worth keeping. The rest is just better organization around the work itself.